Classroom Setup 2021
Classroom Setup 2021
New year, new grade, new school, new CLASSROOM!
Hello! My name is Brittany, and I love teaching, but I especially LOVE planning, organizing, decorating and adding a little bit more thought into the day-to-day aspects of teaching. Last year was my first year teaching as an intern in 3rd grade. I loved every second of it, but most importantly, I discovered my love of classroom design and decorating. Although I was sad that my time at this school had come to an end, I was also just as excited to begin planning for and designing a new classroom with many different challenges.
My first school was decently new and included A LOT of built in storage, shelving, drawers, and counter space which I fully took advantage of. I loved being able to neatly tuck away all of my mess and supplies to keep my classroom looking clean and fresh on a regular basis. When I first set foot in my new classroom, I immediately recognized I would not be enjoying the same luxury in 2021.


As soon as I had most of my ideas for the room in a visual format, I immediately texted them to my mom to get her input on the layout. She has a very similar personality to mine and had also had a chance to walk through the room with me. I think having someone you trust to bounce ideas off of and to talk your ideas through with is extremely beneficial during these pre-planning stages. I was able to use photographs of items I already owned and used in my previous classroom to demonstrate a potential placement for the new classroom. This included my rug, bulletin boards, pineapple wall decor and the alphabet line I had made specifically for this classroom. I find it important to use actual pictures to help the illustration feel more life-like (It also got me super duper excited to pack up my stuff in order to move it over).
Moving all of my stuff into my classroom was not easy nor quick, and it had to happen in several different trips, but I was so excited to finally get a chance to see my empty room the first week of June, 2021. My new school is a 30 minute drive from where we currently live, so I was bursting with excitement the entire drive over that Monday morning. After getting all the boxes and crap moved from my car into the classroom, I took pictures of each wall to show my blank slate that I was going to be working with.


Please excuse the messy piles and bags of crap everywhere, but this is what I walked in to that first day! It was hot as heck since there is no A/C in this school, there were spiders and cobwebs galore, and I found many hidden treasures after shifting the bookshelves around. After taking these pictures, I opened every drawer, cabinet, and closet in sight and went through each item found inside. I pulled out curriculum, text books, border, posters, EVERYTHING was somewhere that I could see it. This also gave me a great opportunity to wipe down shelves and corners that had obviously not seen the light of day in years. Once I had created a giant mess of the classroom, I spent the rest of my 4 hours there putting supplies and items in somewhat-organized piles based on how it would eventually be used. I also took the time to think very critically about the items left behind. I had a lot of posters, border, file folders, and other paper clutter. I went through each item bit by bit and was not afraid to toss what I knew I did not want and would not use. If there was a question as to whether or not it was a piece of curriculum I would need, I would place it in a pile that I took a picture of to be able to show to and talk with my team teacher to see what was absolutely necessary and what was useless clutter I could get rid of now. I'll tell you what, there is something so liberating about throwing away crap and emptying cupboards and drawers that were once cluttered.


Here you can clearly see the amount of storage and organization opportunity I was previously working with.
That being said, I knew that this would be a great time to talk through how I design a new classroom and what steps I take to really bring my space to life and make it feel more like home.
Prep Work
First thing's first, I drove out to my new school and was able to walk through my new classroom before the end of the school year. I was hesitant to take pictures of the room since the current teacher still had all of her decorations up and things were a little chaotic near the end of the school year. I went ahead and snapped a few just so I could look back while thinking through how I wanted to set the classroom up to fit my idea of a functional space. Here's where we started:


As you can see, I had my work cut out for me. The school is much older and in a much more remote part of the school district. I was told that my class size would be significantly smaller, but there would be new challenges that I had not seen in my previous school. After walking through the classroom, I had my creative juices flowing 24/7 and I've found that if I cannot get my ideas out and in some kind of visual, I will be up all night every night thinking and dreaming about the work to be done. This is when I move on to Part 2.
This step is very crucial for me before I even get the keys to my new classroom. As soon as I have a visual, I open up a power point presentation so I can easily illustrate all of the visions I have for this room. It can get tedious and time consuming, but I've found it gives me great direction and momentum in creating a to-do list and having a vision to work with before getting overwhelmed on set-up day 1. Here are some screen shots of my power point presentation:


As soon as I had most of my ideas for the room in a visual format, I immediately texted them to my mom to get her input on the layout. She has a very similar personality to mine and had also had a chance to walk through the room with me. I think having someone you trust to bounce ideas off of and to talk your ideas through with is extremely beneficial during these pre-planning stages. I was able to use photographs of items I already owned and used in my previous classroom to demonstrate a potential placement for the new classroom. This included my rug, bulletin boards, pineapple wall decor and the alphabet line I had made specifically for this classroom. I find it important to use actual pictures to help the illustration feel more life-like (It also got me super duper excited to pack up my stuff in order to move it over).
Obviously, this illustration is ROUGH. I knew that items would move and be tweaked once I actually got into the room, but for the time being, the planner in me was a bit more satiated and I could relax until I actually got back into the room in its empty state. I continued to pack up my old classroom and temporarily store everything in our apartment. I had a lot more crap than I had originally thought which worried me considering I was decreasing my storage space drastically. Alas, I waited for the text from my principal saying that the keys to the classroom were mine and I could start moving all the crap from our spare room and shed into their permanent home.
Set Up Day 1


Please excuse the messy piles and bags of crap everywhere, but this is what I walked in to that first day! It was hot as heck since there is no A/C in this school, there were spiders and cobwebs galore, and I found many hidden treasures after shifting the bookshelves around. After taking these pictures, I opened every drawer, cabinet, and closet in sight and went through each item found inside. I pulled out curriculum, text books, border, posters, EVERYTHING was somewhere that I could see it. This also gave me a great opportunity to wipe down shelves and corners that had obviously not seen the light of day in years. Once I had created a giant mess of the classroom, I spent the rest of my 4 hours there putting supplies and items in somewhat-organized piles based on how it would eventually be used. I also took the time to think very critically about the items left behind. I had a lot of posters, border, file folders, and other paper clutter. I went through each item bit by bit and was not afraid to toss what I knew I did not want and would not use. If there was a question as to whether or not it was a piece of curriculum I would need, I would place it in a pile that I took a picture of to be able to show to and talk with my team teacher to see what was absolutely necessary and what was useless clutter I could get rid of now. I'll tell you what, there is something so liberating about throwing away crap and emptying cupboards and drawers that were once cluttered.
It was a pretty uneventful first day, but I also had other obligations to take care of that day and didn't have as much time as I would have hoped to work on my classroom. My family was coming into town the following week and I had a lot to get done before their arrival.
Set Up Day 2
Day 2 was an exciting day because I had more junk to move in, many piles of crap to go through, and an entire 6 hours in my room un-interrupted. When I walked in, instead of the thrill and excitement I had felt on set up day 1, I felt complete dread and disdain for the task at hand. This confused me because it was something that I loved to do and had been looking forward to for a long time, why was I dreading working in this classroom so much? I realized that the mess I had left the room in had made me feel overwhelmed and distraught as soon as I walked through the door. I had broken my golden classroom set up rule! "Always tidy up before leaving for the day". I quickly saw just how much I had taken a tidy work space for granted and how my whole attitude towards this classroom had shifted because of the state I had left it in the day before. I was still in no mood to tackle my hoards of junk in each corner of the room and pile of empty boxes in the corner. If I was going to save this set up day and get the ball rolling, I was going to have to do something that brought me excitement and joy. For me, I knew that I needed to brighten this room up with some color. When I was first designing my classroom during the first weeks of the COVID-19 shut down (a really convenient timing for me!) there were a lot of things I had to take into consideration:
1. What was my theme going to be
2. What color scheme would I use
3. What could I make myself and what would have to be purchased
I had seen every classroom setup video on Youtube, I had scoured the internet and Pinterest for all the classroom themes and I had come to a couple of conclusions for myself. I knew for a fact that I did not want to have a boho theme or a farmhouse theme since everyone else seemed to be doing this. I also knew that if this was a place that I was going to spend most of my waking hours, it needed to feel calm, welcoming, and clean. From all of the posts I had seen, it occurred to me that way too many teachers used harsh, bright colors in their rooms. Using a lot of black and neon all over the room felt burdensome on my eyes and I knew this was not the direction for me. Soft, neutral colors was my goal. I found a roll of blue fadeless paper that was the absolute perfect fit! Not too bright, not too neutral. Just the pop of color I wanted to see. I bought a roll of 40 feet by 4 feet which covers bulletin boards perfectly and eliminates the need for seams (a pet peeve of mine).
In order to brighten up my classroom and make me feel more motivated, I decided that now was the time to put up the bulletin boards. I usually save this step for last or for having my mom come out and help with, but it was the only idea that felt good at the time. I had to cut all new paper for my boards since my previous class I had hot glued most decorations to the paper itself, making it un-recyclable. I saw a tutorial on Youtube on how to use push pins to get the perfect bulletin boards every time and decided to try it out for myself. WOW! Game. Changer. I got each board up on my own with little to no difficulty. The only hiccup came from the felt board on the one wall. Since it is not true bulletin, I found that I had to staple the paper and border in very carefully and forcefully in order for the staples and paper to stay put. I was also happy to find that the border I had brought with me from my previous room fit each board like a glove and no re-cuts were necessary except for minor trims. An extra step I'm so glad I decided to do last year and this year was to make my border feel like a picture frame by giving it a 45 degree angled cut. This way, each piece of border met at point rather than overlapping. Since my border is a straight line, this looks much more put together and purposeful.
Once the bulletin board paper and borders were up, I also decided to hang my tassels I had made during the lockdown to the back wall. I felt that the room was much brighter, more cheerful and began to feel like the home I had previously created in my last classroom. This gave me the moral boost I needed to pull out the stacked desks and chairs, create different stations around the room, and get my crap together into better organized piles as well as putting like items into baggies and bins as well as putting them in locations that made the most sense at the time. Before I left, I was able to clean up my messes, get the garbage sorted, and take pictures of my work in progress.


Set Up Day 3
Walking in to day 3 was a breath of fresh air. I was able to bring in most of the rest of the decor and supplies. The only items left to bring over were my rug (which I was waiting to have cleaned), my white desk, my mini fridge and my books. I had a craft cart which I had purchased to put my Cricut on and to organize all my craft materials so I decided that I should start off by putting that together. I had also considered putting up the remaining tassels on either side of the projector board but had debated whether to hang them from the bulletin board strip at the top or hang them slightly above so the tassels didn't take up as much space (hence the confusion of the last picture from set up day 2). I had this set up in my classroom last year and just loved the look, but hated the inconvenience of not having as much white board space. I decided that my focus today would be on finishing what I could of the front board and the bulletin boards. I had noise level signs that I had from the previous year I put up with magnets, Added and framed my schedule cards, put up my alphabet, and began my birthdays and calendar board before I got a little too anxious about spacing and maybe just burnt out with focusing on only one wall that day. So, I decided to move my concentration elsewhere. With the front of the room really coming together and making me feel excited about the future, I noticed the back wall, even with the tassels, felt like it was lacking in something. I decided that my desk area would be a great place to create another bulletin board since the entire wall was able to be stapled into much like the felt bulletin board that had caused me so many troubles the day prior. I had plenty of bulletin board paper and another shipment of border on the way, so I did what I could to add a bulletin board behind my desk area to add some color. Although I ran out of border, I really loved the extra brightness and color it brought. I also took this day to go through the math manipulatives that were left behind and see what bins I had that could store them, what I would most likely be using, and what I needed to order. It may not look like much was accomplished in the pictures, but I was happy where I left off with day 3 and I was ready to head out of town to spend time with my brothers and parents a couple hours south which is where my sister currently lives before they all came up to visit with us.


Set Up Day 3.5
She helped me bring in my white desk and mini fridge and really, we stood around and talked through the set up of the classroom, procedures, and what was and wasn't working flow-wise in the room. We created an L-shaped desk with my white desk and the existing teacher desk along the back wall, moved a book shelf over to fill the huge gap where I had been stock piling empty boxes, and created a perfect center for student job procedures. We decided another bulletin board on the other side of the back wall would help balance that side and. changed my plans for what to do with the other front bulletin board. We decided having each student do a job next year instead of only having 4 could be a great management strategy and a command station near the door where all the materials they would need to do their jobs made a lot of sense and cleared up space in my teacher nook for my fridge and craft cart. The only other thing we really did this day was to put up the calendar and birthday pineapples at the front of the room.
(I didn't end up taking any pictures this day)
Set Up Day 4

It says Mighty "Pine" Work with P-I-N-E decorated to look like pineapples :)

After finishing up out in the hallway, I was really excited to finally put up the new letters I cut out for the bulletin board by my class library. I had seen a pin on Pinterest with this quote and had fallen in love with the idea. I really loved the letters, but hanging them up and in a straight line was going to be tricky. I had seen a hack on Youtube about lining up bulletin board letters along a straight edge table and then using painter's tape to place them and thought I would give it a try. Here's how it went:


I also found this beautiful eucalyptus border that I wanted to use to double border my bulletin boards. Because the felt walls were being more difficult than I had originally anticipated, I figured it would be best to leave them as is. I couldn't figure out where to use this amazing border. I decided to frame my projector board since it was sticking out from the wall and had a gross grey border I didn't like as much. I was worried it would be over powering with how much is decorated up front but GUYS! I. Am. In. Love!!!

I think I should mention that this board is magnetic and dry-erase which gives me much more writing space and so the sides of the board can be taken up with more decoration. I LOVE how this border makes it feel like a statement or a wreath at the front of the room. This border wasn't like the white wood one on my bulletin boards, it did not come in a continuous roll. It comes in 3 foot strips. This means, I had to combine strips in order to go all the way around. I didn't want the seam to be noticeable (because I HATE seams) so I found places where the stem was showing in the pattern and cut around the leaves and white outline to stick pieces together in order to create this seamless look. If you zoom in really close, you might be able to see the seams, but I can barely see them in person which is a win-win scenario for me! I still haven't found another opportunity to use this stuff, but I am on the look out because it is SO CUTE!
Other than that, I organized my office supplies, went through more of my supply caddy materials and left over materials to try and get those more in line and I also finally took out the trash and all the boxes. I can't believe it took me this long to build up the courage to ask the sweepers where the dumpsters were! Being a newbie stinks sometimes, but I am getting there!
Set Up Day 5
It was a HOT week and so I stayed home in my air conditioning working on my classroom library and cleaning up my house now that most of the boxes have moved out. Most of my classroom library is on loan from my mother-in-law. I don't know what it is about her and the Scholastic Book Fair, but she has bought almost every book they published while her kids were in school. Not only does she have a lot of books, they are also covered in clear contact paper and stamped with her name. She is a smart woman because all of her books held up against my last class while many of mine already need replaced after 1 year. I spent probably close to 24 hours (not at once) covering my books in contact paper as well as logging all the books in my library to my Book Source Classroom Library. I love this website because it is free and I can easily search for a book to see if I have it. My students can also log on using a student password and check the books out online. I hope that the time I put in to entering these books will be worth it to keep the books organized and easily searched.
That being said, today I was able to bring in all of my classroom library with every book covered and stamped with either my name or my mother-in-law's. I was able to put them into groupings on the shelf and I have bins on the way to organize the chapter books in a way that should be easy for a student to take care of as a class job. SPEAKING OF CLASS JOBS, one night a couple days ago, I couldn't turn my mind off and stop thinking about the classroom. I was worried about my management plan because I had done a clip chart last year and hated it, but needed something else as a individual system. We did a classroom economy in 3rd for the last 2 months of school and it was so much easier for me to give and take money than it was to move clips. I watched a video of this Australian teacher who used tickets as a class currency and related it all to real life situations. Basically, each student has a job for a couple weeks and gets paid a salary for doing that job. They also have to pay rent and can spend the money on various rewards. The positive behaviors also earn them money while negative behaviors result in a fine. This system was EXACTLY what I had been looking for. I stayed up all night planning out class jobs and writing their salaries, responsibilities, and typing out what this system would look like in my class.
Another system I have seen in my mentor's classroom and loved was "Find it and Fix it" which is basically a 5 minute time slot set aside each day to tidy up the room near the end of the day. There would be a secret item or two that the teacher would spot and whoever "found it and fixed it" would get a reward. I loved using it in my class last year, but the same 5 people would work super hard the entire time while 15 people wandered the classroom trying to look busy, but were really messing around. Once I started planning this classroom economy, I realized each job could have a responsibility tied to the position that would happen during a normal "Find it and Fix it". EUREKA! If each student has a job they have to do during this time already, no one should be loafing around unless they don't want their paycheck. BOOM!
So, coming in on day 5, I had a lot of great management ideas that I was working on. First of all, my job board which I wanted to even out the back wall anyway needed hung. I also sorted through my bulletin board letters that were all scrambled to put up on their assigned boards. The lunch count got hung and I brought my printer intending to print a bunch off and laminate it for the job board, but I ended up not being able to connect to the wifi so I worked on my door instead. All of this took about 8 hours and by 5:00 I was pooped and the room needed put back together. I made sure to put it back as nice as possible so that I can finish the job board and management posters next time as well as finish putting the library in order. I'm getting so close, yet still feel so far!


Set Up Day 6
I contemplated whether or not to actually come in and work today. I had a package that was supposed to have arrived yesterday, but it somehow did not get delivered because they couldn't access our drive way? I ended up going in around Noon for a couple of hours. I did receive my small milk crates in the mail for the chapter books so I was able to finally put together the rest of my classroom library how I wanted it. I still need to label the bins, but I am loving how much easier books should be to find and put back.


I was also able to print out a bitmoji of myself to put outside the door welcoming my class each day along with a speech bubble saying, "I'm so glad you're here". I also laminated my "4th" to add to the back side of my door so now those are both done (for now). You can tell that they are not the exact size as my original "3rd" letters, but I ran out of the paper and did not want to go buy another so here we are... I'm not in love with my door decor, but it is at the bottom of the list in terms of what is most important.

Finally, I printed out new hand signs to fill up the bulletin board I had previously used for classroom jobs. I also don't love this placement, but it fills up the space and makes it look more purposeful. I've thought about moving the posters over to the wall right next to the bulletin board and making the part with the pineapple my "Class Rules" Board and listing classroom rules with letter cut outs. We'll see, I'm getting pretty tired and ready to just start the school year already!
Really, all that's left is to organize some paper clutter, create my small group binder, and finalize where desks will go until I get my class list and can start labeling supplies! I feel like this year's set up has gone by so much faster, and it is probably because I did not have to make as many things as I did last summer. I will upload a video of my classroom tour to YouTube once it's all ready to go!
Set Up Day 7
Wow. I can't believe what I was able to get done today. I assumed it would be a short day today, but then I could see the light at the end of the tunnel and thought I might as well finish my room and take July off! I started off the day cleaning up my white desk since it had gotten some dust and dirt from being moved in and sitting in storage. Then, I had a box full of loose paper I had in random locations when I packed up my last classroom, so I went through that box and filed away my papers into the filing cabinets. After I filed those papers, I realized that the previous teacher had left some white sticky labels on the file drawers that needed to be removed. I got all the sticky off with Goo Gone and decided to make my own labels with white cardstock to slide into the labels just in case I decided to change it up later.
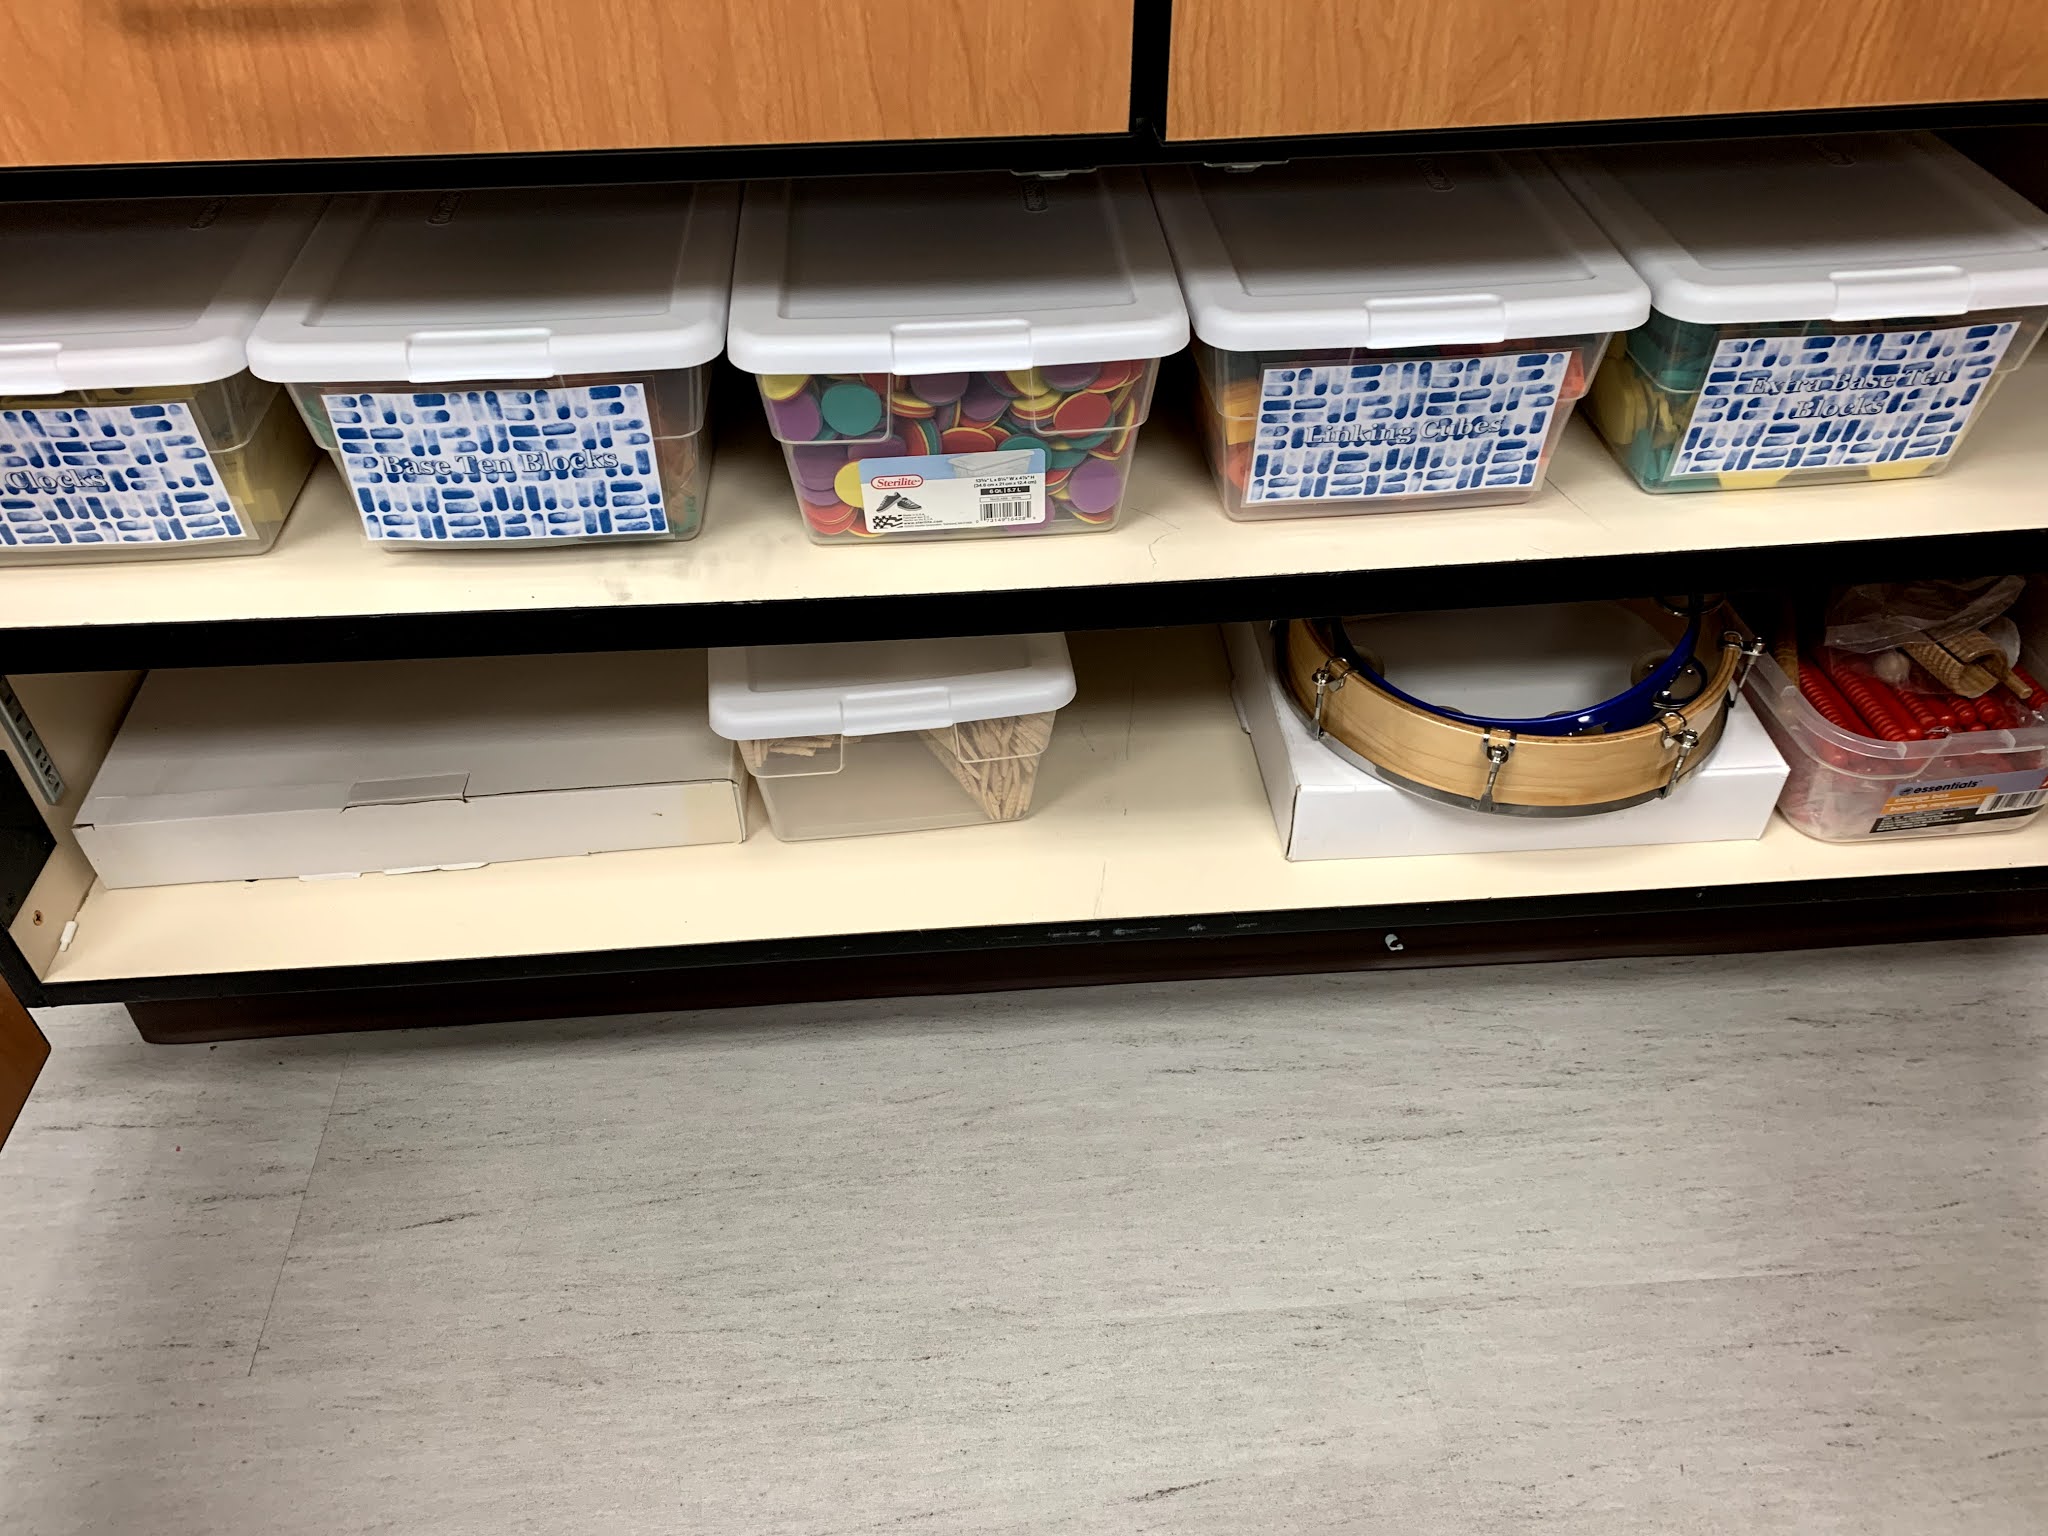
According to my to-do list, I was already done after just 30 minutes. I thought I might as well make the drive out worth it. I have been really bothered by the crap I had underneath the counters beneath the windows. There were 2 blue milk crates, a rolling set of drawers, and a set of 3 Sterilite bins that fit really well under that ledge. Originally, they held all of the math manipulatives. There were also a lot of spiders and flies inside these drawers, so I felt that I should just use the shoe boxes I already had to store mainpulatives and keep them in a cabinet. This means that the drawers and crates were empty. I ended up shoving extra clocks and geoboards in one milk crate, threw away the rolling cart (it was nasty) and then cleaned up the 3 drawers. My clipboards fit in the bottom drawer, and I put fake money and dice in the other drawers for now. I don't know if I will actually keep the money. We will see.
While I was over in that corner, I noticed my remaining tassels. I really don't want to store any of them, but I was at a loss as to where to put them all. I had previously had a welcome banner with tassels outside the door, but the other teacher has a Charlie Brown banner there and I wasn't going to take it down. I took just the welcome banner and put it up above the inside of the door instead. Then, I noticed how bare the wall with my fridge and file cabinet looked. I had a strand of tassels that fit the space PERFECTLY and so I went ahead and hung those up real quick. It felt better, but wasn't quite what I wanted. So, I went and got some white butcher paper that the school had to make another bulletin board. My previous school had a bulletin board just behind the computer area which I had used to put up kid's drawings and cards they make for me. I use white paper instead of the blue because it will get lots of push pins put into it and be covered in art anyway. Why waste my pretty paper? I also had a pineapple border from School Girl Style that I had used on that bulletin board at my old school too so I went ahead and added that. It was the perfect space filler!
While I was hanging up the other bulletin board, I thought about my sad dry-erase calendar I stopped using in October of last year. I really wanted to hang it up near my desk, but wasn't sure if I could get nails into the wall. Before, the wall I wanted to hang it on was all brick and so I wasn't getting any holes in there. I was able to test out the nails and they went in! I quickly hung the calendar and did a happy dance! :) I kept cleaning up loose ends here and there, hung up my class economy poster, placed the remaining decor and I was really starting to see the finish line! I still had a few leftover tassels which were driving me nuts. The only other place I saw to hang them were above the windows so I hung my last little string across there, threw the remaining tassels into boxes and just shoved them under the counter for now.
I thought I might as well set up the desks and chairs how I might want them for the beginning of the year. Once the desks were set, I took the whole room in to see if anything needed tweaked. When I was happy with everything, I called my mom on FaceTime to show her how it turned out and snapped my pictures. Now, I can relax at home for a month and start to look at the curriculum so I can feel ready to go in August when I return to school! Enjoy the pictures! I will hopefully do a video tour and link that once I am back in August.


Comments
Post a Comment